Installing and Configuring MSMQ |
|
To install MSMQ on Windows 2003 or Windows XP, follow the below steps :
- Navigate to Start > Control Panel > Add or Remove Programs. The Add or Remove Programs dialog box appears.
- Click Add/Remove Windows Components option. The Windows Components Wizard appears.
- Select Message Queuing option in the list and click Details button. The Message Queuing dialog box appears.
- Select MSMQ HTTP Support option in the list and click OK. Click Next in the Windows Components Wizard. The Microsoft Messaging Queuing is installed.
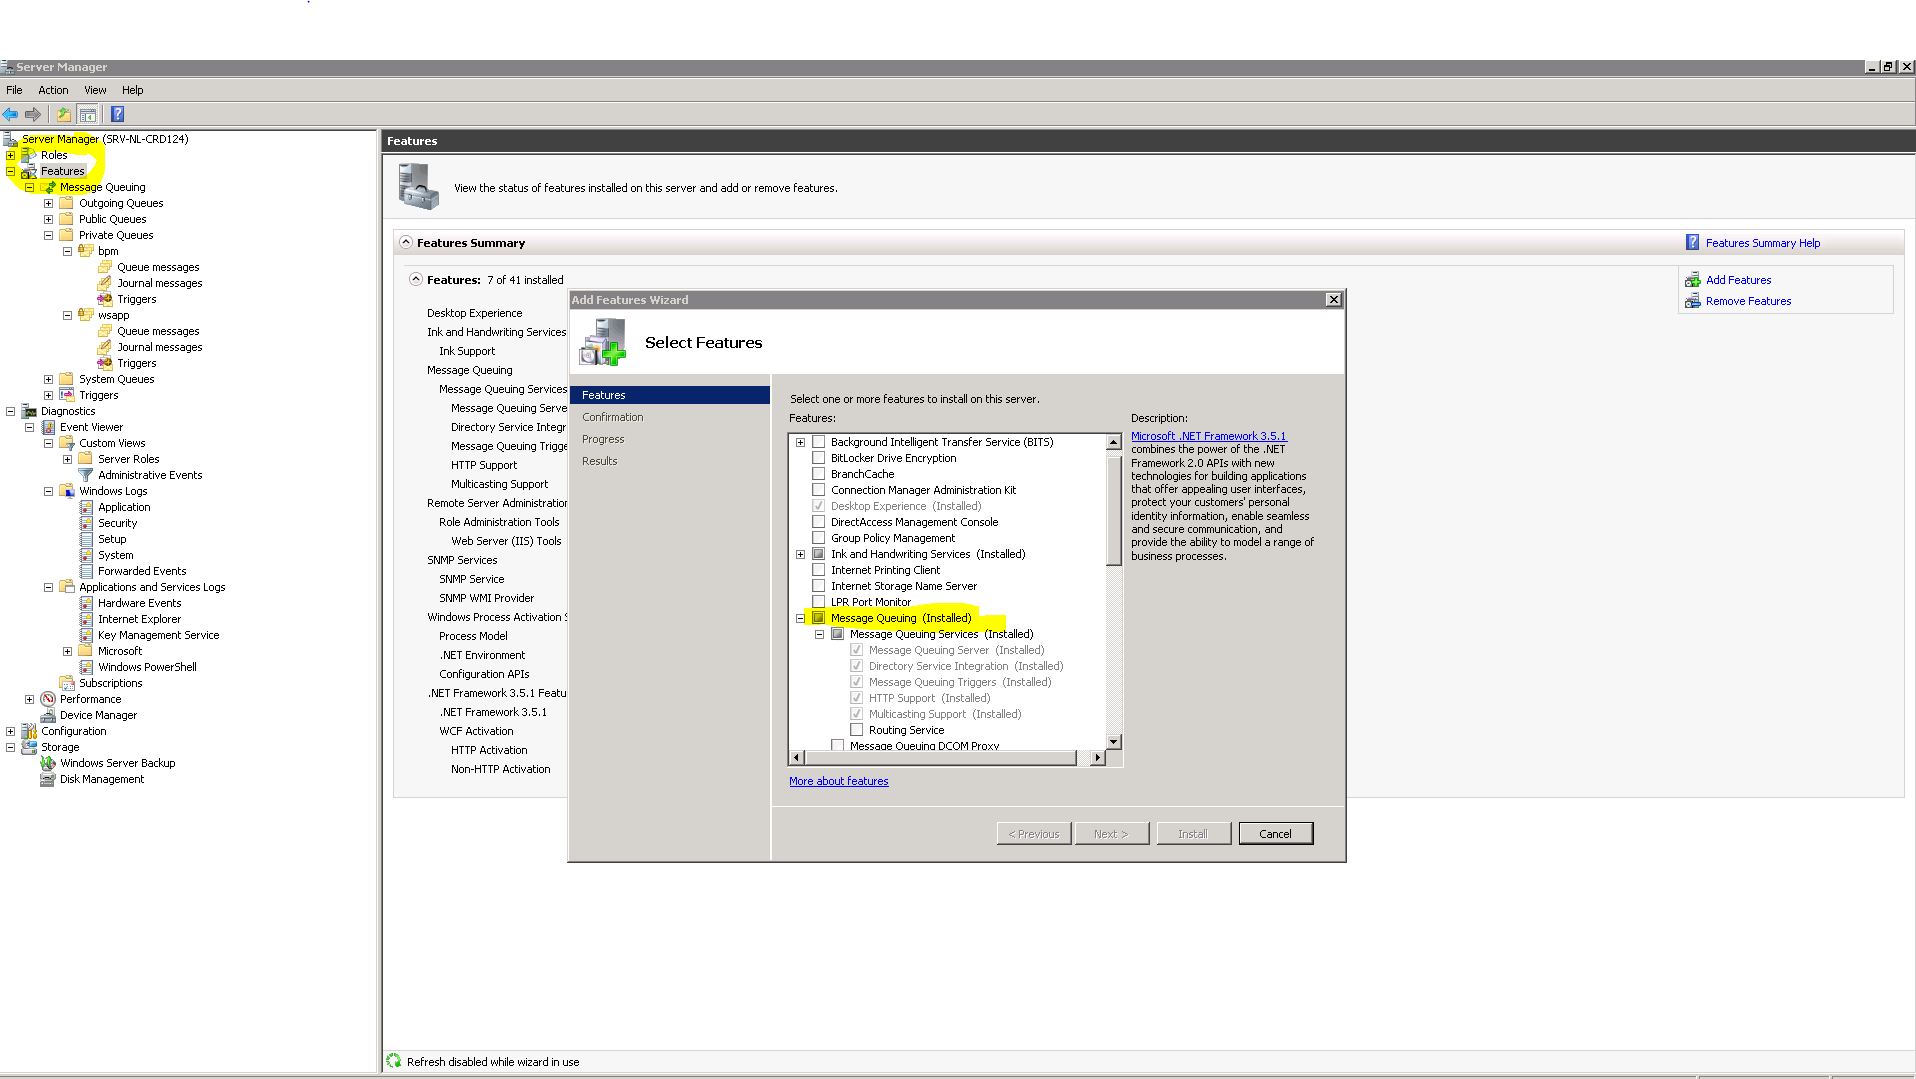
To install MSMQ on Windows 2008, do the following:
- Start Windows Server Manager.
- Right click features and add MSMQ (click here for screenshot)
- MSMQ must be installed with domain access
To configure Messaging Queues, follow the below steps:
- Right-click My Computer and select Manage. The Computer Management window appears.
- Navigate to Services and Applications or Features > Message Queuing > Private Queues.
- Right-click Private Queues, Select New and then click Private Queue. The New Private Queue dialog box appears.
- Type the Queue Name and select Transactional option. A queue is created.
- Right-click the queue and select Properties. The <Queue Name> Properties dialog box appears.
- Select Enabled option and click on Security tab.
- Add a OpenText Process Suite Platform User, set the permission as Full Control and click OK.